Amazon API Gateway 사용 시, 기본적으로 모든 Path, Method, Header, QueryString 등을 아래와 같이 미리 프로비저닝 해야 한다.
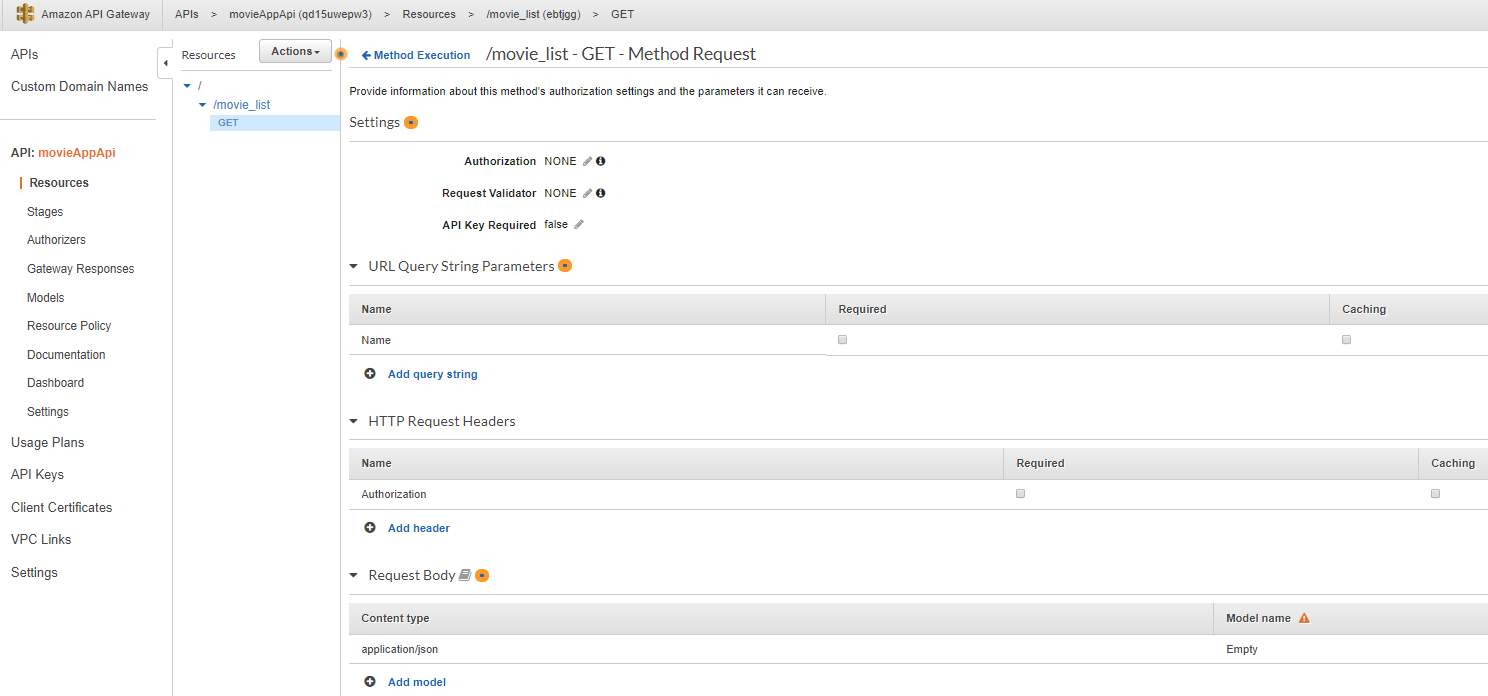
그러나 API Gateway {Proxy+} 사용 시 해당 매개 변수들을 일일히 설정할 필요가 없이, Lambda 등 BackEnd에서 받을 수 있다.
참고
https://aws.amazon.com/ko/blogs/korea/api-gateway-update-new-features-simplify-api-development/
실제로 {Proxy+} 테스트를 진행해보자.
먼저 API Gateway와 연동할 Lambda를 생성한다. (Node v.12)
exports.handler = async (event) => {
    // TODO implement
    console.log(event);
    const response = {
        statusCode: 200,
        headers: {
            "test":"test"
        },
        body: JSON.stringify('Hello from Lambda!'),

    };
    return response;
};
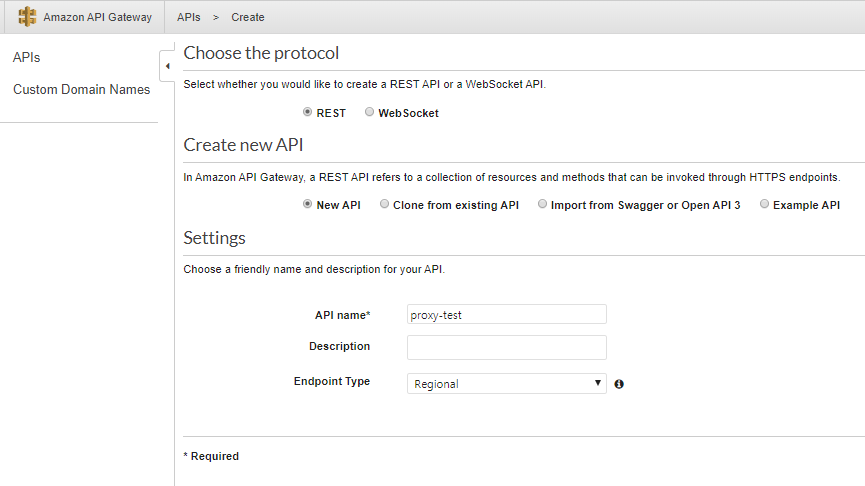
그리고 API를 생성한다.
ANY로 API Gateway Method를 생성한다. ANY에서 이전에 생성한 Lambda ARN 값을 넣어준다.

Resource를 proxy 모드로 생성한다. (Configure as proxy resource)

필요에 따라 CORS도 추가한다.
ANY에서 이전에 생성한 Lambda ARN 값을 넣어준다.

그럼 생성한 API Gateway proxy를 테스트해보자.

Query Strings, Headers를 넣고 실제 정상 응답이 오는지 확인한다.
그리고 CloudWatch Logs에서도 정상적으로 Lambda에서 수행되었는지 확인해보자.

정상적으로 headers, queryStringParameters가 전달된 것을 확인할 수 있다.
그럼 이제 생성한 API Gateway를 Deploy 해준다.

배포가 완료되면 아래와 같이 Invoke URL을 확인할 수 있다.

그럼 Postman 혹은 CURL을 통해 이전 TEST와 동일하게 HTTP Request를 API Gateway에 날리자.

정상적으로 응답이 온 것을 확인할 수 있다.
마지막으로 CloudWatch Logs로 다시 가서 실제 Authhorization 헤더와 queryStringParameters를 Lambda에서 정상적으로 받았는지 확인한다.


실제 Header, QueryString 모두 정상적으로 Lambda에 요청된 것을 확인할 수 있다.
그럼 위와 같이 쉽게 API Gateway를 이용하여 Proxy를 사용할 수 있다. 이외 인증처리 등 다양한 기능이 가능하다.
아무튼 간단하게 {proxy}+ 사용해서 Api Gateway Proxy를 구성할 수 있다. 다만 Header, QueryString에 대한 캐싱이 불가하다는 단점은 존재한다.
'Networking > API Gateway' 카테고리의 다른 글
| API Gateway, DynamoDB 사용 시 주의사항 (0) | 2020.05.19 |
|---|---|
| Amazon API Gateway Signature v4(Authorization) (0) | 2019.04.30 |

